
MAY 2015 BOM!!!!
How is it May already? Does it feel like we just got done with Christmas for anyone else but me?
May's BOM is the spool block. I absolutely love this block. It could be one of my favorites so far. In order to make this block you can use any color combination you would like for your 4 spools and then you will need a solid color that you will use on all of them. I chose to work with these 3 fabrics.

You will need to make 4 spool blocks. For each of these blocks you will need the following fabric.
2 - 2 1/2 inch squares of background fabric
2 - 2 1/2 inch squares of spool fabric
2 - 2 x 3 1/2 inch of background fabric
2 - 2 x 3 1/2 inch of spool fabric
1 - 3 1/2 inch square of thread fabric

Take a 2 1/2 inch square of your background fabric and of your spool fabric.

Fold one of your squares in half diagonally and press.

Open the square back up and place it on top of the other square with right sides together. Then using a 1/4 inch seam stitch on each side of the line that you made in the previous step.

Repeat with the two other 2 1/2 inch squares and then cup apart between the lines that you sewed.

Press your fabric to the darker side. You should then have something like this. Trim each of these squares down to 2 inches.

Next take your fabric pieces and lay out as follows.

Sew each column together.

Press each row. and then stitch together.

You will now need to create 3 more spool blocks. I chose to do contrasting blocks and two of each, You can also do 4 of the same spools or do each one different. It is completely up to you.

Decide on your final block arrangement and then sew together. Press your block and you are finished!

You have now completed 5 of the 12 blocks. After next month we will be half done!!! Please be sure to send pictures of your block to kjlermer86@gmail.com if you would like it featured on the blog!
APRIL 2015 BOM!!!!
Let me start off by apologizing for this being 3 days late. I ended up with many more local Easter orders than I could have ever imagined and my life was pretty much centered around Easter bunnies up until yesterday. However this months block is quite easy and I hope you all love it! You are going to need 4 different fabrics for this block. It will work best if you have two dark and two light.
First decide what your center fabric will be and cut a 4 3/4 inch square.

Then take your second fabric and cut two 3 7/8 inch squares. Cut each of these in half on the diagonal.

For your third fabric you will cut one 7 1/4 inch square and cut it into quarters as shown below.

Finally with your last fabric cut two 6 7/8 inch squares and cut each of them in half on the diagonal.

Take your center square and add a piece of the second fabric to each side of the square. Be sure you are pressing your seams to the darker fabric.

Now attach a piece of your third fabric to each side of your newly made square. Again please be sure you are pressing the seam to the darker fabric.

Finally attach your 4th fabric to your square. TaDa!

Congrats you have now finished the fourth block in this project! Be sure to send me photos of your blocks to kjlermer86@gmail.com! Don't forget to check back in May for our next block!
MARCH 2015 BOM!!!!
It sure seems like the months are flying! Can you believe we are already starting March and our third BOM? This block is certainly one of the easiest ones in this quilt but might honestly be one of my favorites! The traditional name for this block is a "rail fence block". You will need 4 different fabrics for this block. It works best if they vary from light to dark.
It sure seems like the months are flying! Can you believe we are already starting March and our third BOM? This block is certainly one of the easiest ones in this quilt but might honestly be one of my favorites! The traditional name for this block is a "rail fence block". You will need 4 different fabrics for this block. It works best if they vary from light to dark.
Here are the 4 fabrics that I will be using.

Cut 2 inch strips WOF from each of your four fabrics.

Arrange your fabrics from dark to light.

You might be wondering why I posted a photo of my presser foot. I know we all know what one is but I wanted to show off my new 1/4 inch foot! I love this thing!

Place your darkest fabric down first with the right side up.

Place your second fabric on top of the first with right sides together making sure to line up the edges.

Sew your strips together with a 1/4 inch seam.

Set your seam.
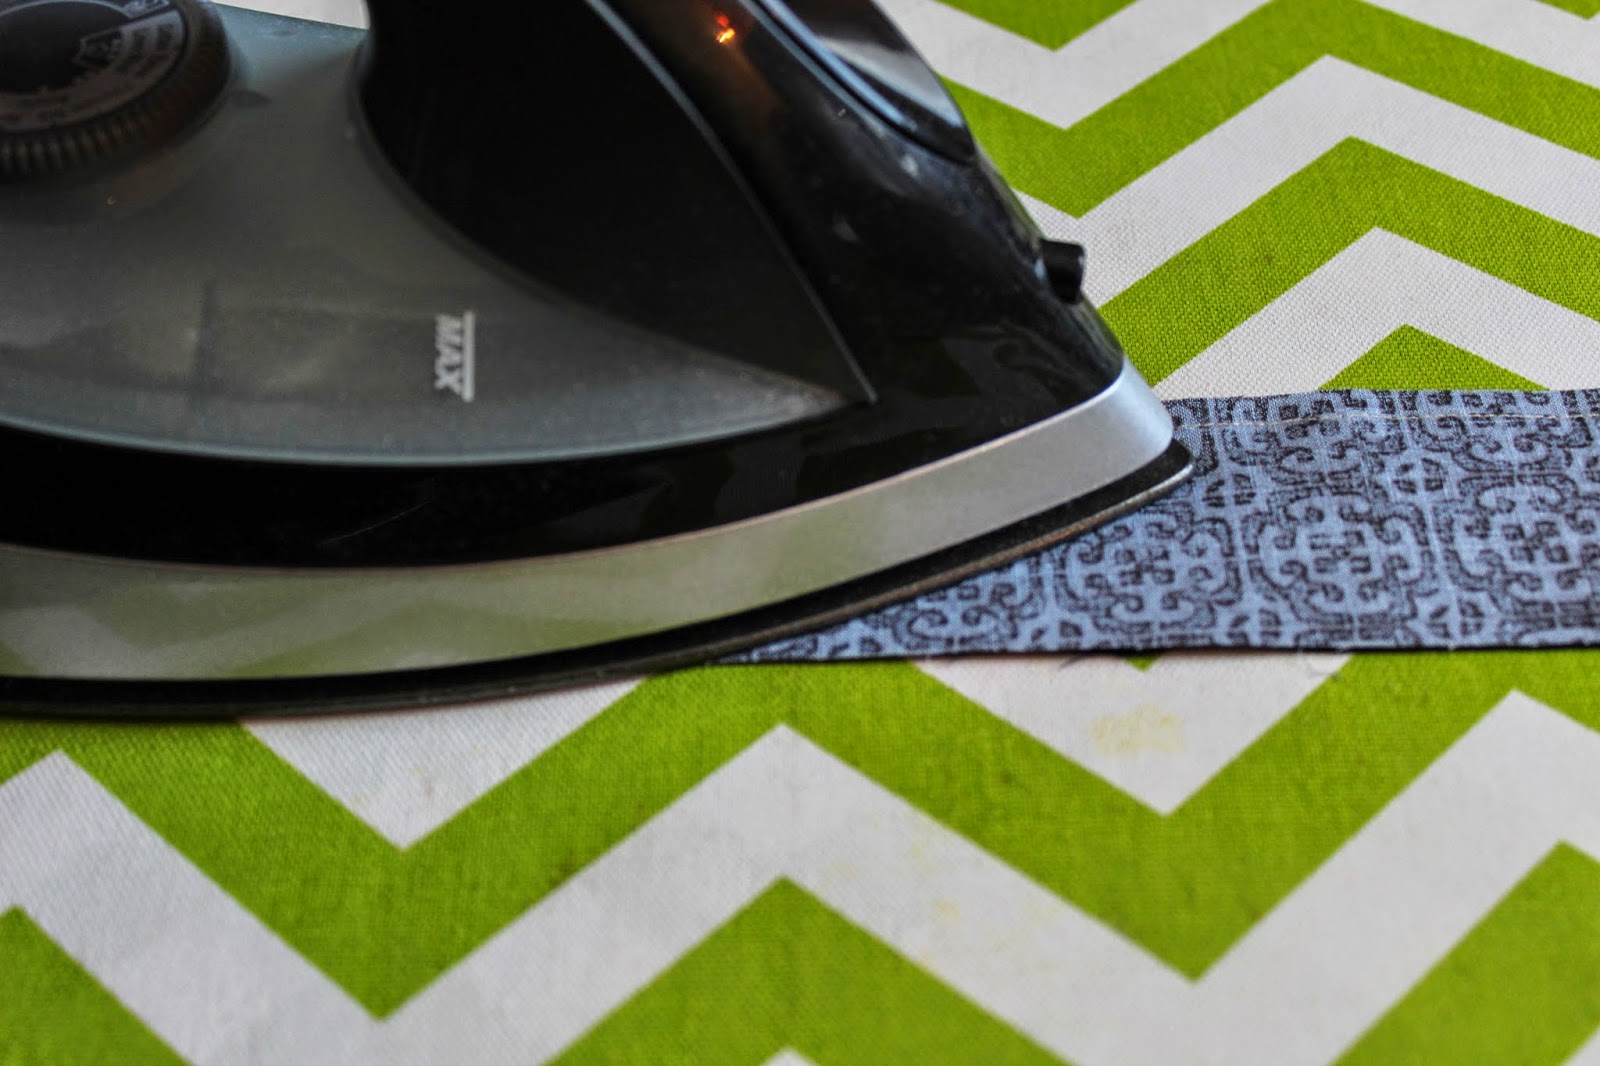
Then iron your fabric open and press your seam to the dark side.

Place your third strip on top of your second color.

Sew again with a 1/4 inch seam.

Press this open the same way as you did the first two fabrics. Be sure you are pressing your seam to the darker side.

Finally attach your last strip the same way.

Your strip set should be 6 1/2 inches wide. Cut 4 squares at 6 1/2 x 6 1/2 and arrange as shown below.

Take your squares on the right side and fold them over onto the blocks on the left side. Sew down the right side of each of these block sets with a 1/4 inch seam.

Press open and then sew the top to the bottom. This is what your blocks should look like when finished!

Congrats you have now finished the third block in this project! Be sure to send me photos of your blocks to kjlermer86@gmail.com! Don't forget to check back in April for our next block!
FEBRUARY 2015 BOM!!!
Can you believe that January is already over? It doesn't seem like its time already for another BOM! But the Calender says it is so who am I to argue?
Here is a sneak peak at this months BOM!
Can you believe that January is already over? It doesn't seem like its time already for another BOM! But the Calender says it is so who am I to argue?
Here is a sneak peak at this months BOM!

This block may look intimidating but I promise its easier than it looks. To start with you need 3 fabrics. You need to cut eight 4 1/2 inch squares for your light background fabric, four 4 1/2 inch squares from your fabric that you would like to be the points, and one 4 1/2 inch square for your center fabric.
.jpg)
We are going to start by taking one of your light squares and one of your point squares.

Place these fabrics together with right sides together.

Find the center point on one side of the square and mark it.

Then draw a line up to the corner as shown in the picture below. You need to make sure to draw the line to the corner shown below so that you make the right points.

Do this three more times so you have a total of 4 sets.

Sew down each of the lines that you just drew, As you can see in the picture I chain pieced them which is perfectly ok. Once you have sewn all four just clip the threads in between the blocks.

The taking one of your blocks place your 1/4 inch mark on the sew line and trim off the extra fabric as shown below.


Then press your block open. Be sure to set the seam before pressing open.

Trim square down to 4 1/2 inches as shown in the photo below.


Repeat this with your other three sets of squares.

Now arrange your squares as shown below and sew them into strip sets and sew together to make a block.

Congrats you have just finished February's BOM.
Be sure to check back March 1 for our next block. When you have completed your February block feel free to send me a photo of the block to friendshipstarsisters@gmail.com . I will be making a post in a few weeks showcasing some of our members blocks. Can't wait to see what all of you come up with!
JANUARY 2015 BOM!!!
Welcome to 2015!

I hope everyone had a wonderful and safe time ringing in the New Year! With that being said, being as it is 2015 that means its time to start our BOM! Here is a sneak peak at our first block.
To make this block you are going to need 2 fabrics. In the photo above it is designed with a dark fabric and a light fabric. However you can use any two fabrics you would like as long as they go well together. Here are the two fabrics that I will be using.

From each of these two fabrics you need to cut the following squares.
1 - 6 7/8 inch square
1 - 5 1/8 inch square
1 - 3 7/8 inch square
2 - 2 5/8 square
With the three larger squares cut them apart diagonally to form triangles. The 2 5/8 inch squares will be left as squares.

I then marked each of my fabric cuts from A - D starting with the largest triangles as A and the squares being D.


Take your D pile of fabrics and sew them into a 4 patch as pictured below. Please be sure to use a scant 1/4 inch. After sewing also be sure to press your blocks. Because you will be keeping these blocks it is completely up to you if you press your seams to one side or press them open. Just something to keep in mind. If you choose to press them to one side be sure to press to the darker fabric.

Then pick up your C pile and attach it to your 4 patch as shown in the photo below. Be sure to still be using the scant 1/4 inch and to press your seams either open or to the darker side (whichever option you choose please use this for the whole quilt for consistency).

When attaching each triangle make sure the point on the top of the triangle matches up to the center line of your four patch as pictured below.

Pick up your B stack of fabric and continue in the same way as the C stack of fabric.

And finally finish off with your A stack of fabric.

Your block should measure 12.5 x 12.5 at this point. That will allow the block to finish at 12 x 12 once attached to sashing.
Congrats you just made the first block of our BOM quilt!
Be sure to check back Feb 1 for our next block. When you have completed your January block feel free to send me a photo of the block to friendshipstarsisters@gmail.com . I will be making a post in a few weeks showcasing some of our members blocks. Can't wait to see what all of you come up with!
2015 BLOCK OF THE MONTH!!! (BOM)
I am so excited to be starting my very first BOM Club (Block of the Month)! This will be run differently than the swaps. With this you will only make 1 block each month. You of course could make more if you are going to make more than 1 quilt. But the beauty is that you will be keeping all of your BOM's! At the end of the year if you follow along each month you will have a finished quilt top ready to be quilted and cherished or gifted!
Please keep in mind when selecting your fabric to choose fabrics that will go well together. Also be sure to pick something that you or the person that you will be giving the quilt to will like.
FABRIC REQUIREMENTS
Block Designs - for the 12 blocks you will need a total of 3 yards in any combination of light and dark fabrics. You can use whatever cuts of fabric you would like as long as they equal 3 yards.
Sashing and Corner Blocks - 1.5 yards of light fabric and 2 yards of dark fabric
Backing - 6 yards
Binding - 3/4 yard for 2 1/2 inch binding
The finished quilt will be approx 55 x 70 when finished.
So head out and gather your fabrics and check back here Jan 1 for the first months block design!
Thank you for taking the time to make these tutorials and keep them posted timely. Hopefully, I can catch up before too long!
ReplyDelete